

.png)

Insights from the Front Lines of Integrated Health
Explore articles written by Carrick Institute faculty and collaborators—from clinical tools and case insights to research commentary and student success strategies.
Use the filters below to browse by topic, or start with the most recent.
.png)
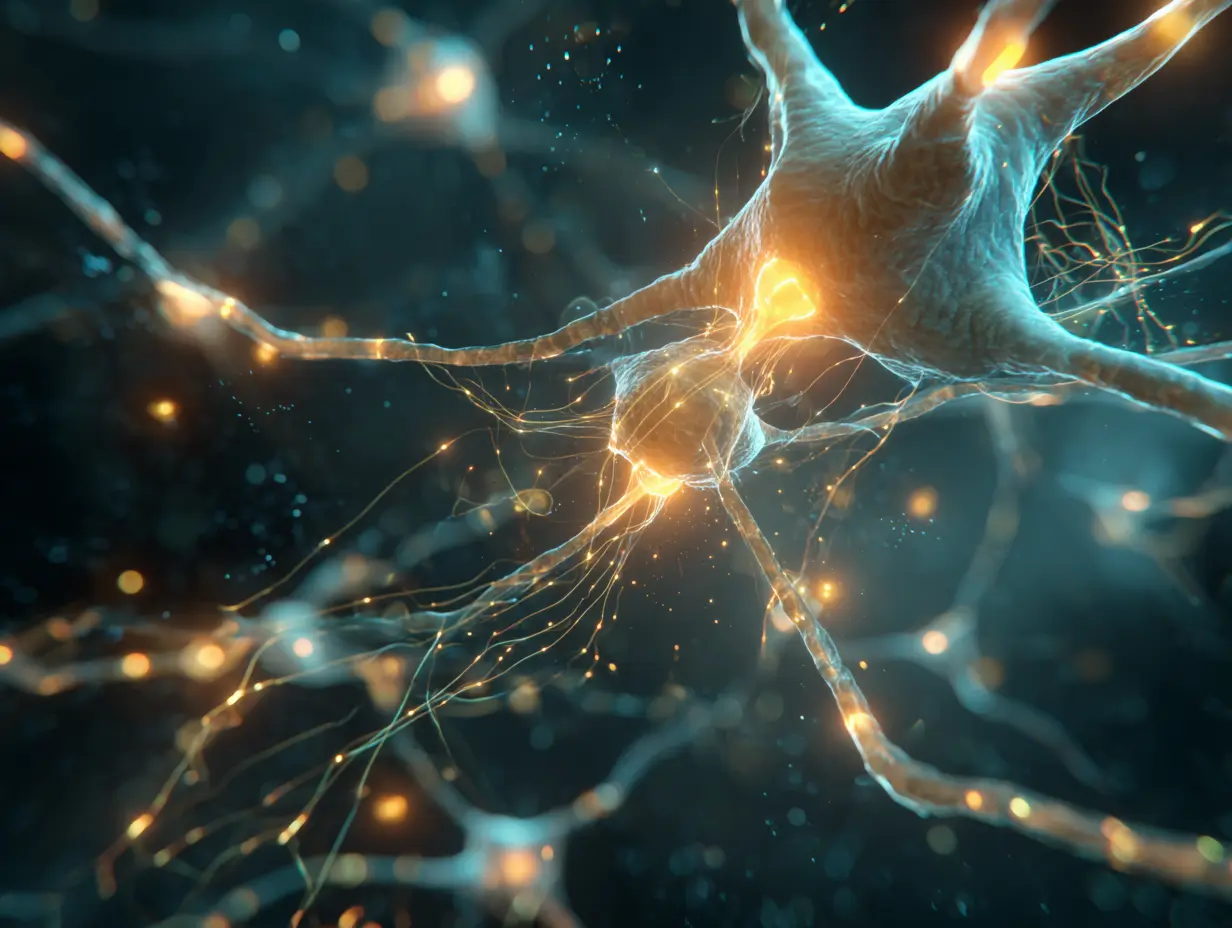
BTSP: The Discovery of Instantaneous Neuroplasticity
For a century, neuroscience taught that plasticity meant slow yielding under repeated pressure. A new discovery says otherwise. Behavioral timescale synaptic plasticity — BTSP — shows that the brain can rewire itself in a single moment when two specific signals converge in the right network. Here's the science, and why it offers a long-overdue explanation for what skilled functional neurology providers have been observing in the clinic for decades.
The NERD Model: Why Some Concussion Patients Get Stuck
Why don't some concussion patients get better? They’re literally stuck. The NERD model reveals how maladaptive neural loops trap recovery and how clinicians can break the cycle.
You're Being Rewired by the World’s Most Popular Recreational Drug—and It’s Not What You Think
Think you know caffeine? Wait until you uncover what it's really doing to your striatum, your thalamus, your sleep pressure system, and even your cholinergic memory circuits. The truth is more complex—and more important—than you've ever been told.

The New "Flexible Access" Policy: Access that Meets Your Needs and Budget
Carrick Institute's Flex Access policy delivers faster course completion, lower costs, and flexible learning that actually works. By replacing Unlimited Access with structured timeframes based on course length, scholars gain the motivation and accountability needed to finish courses while maintaining the freedom to extend or revisit content.
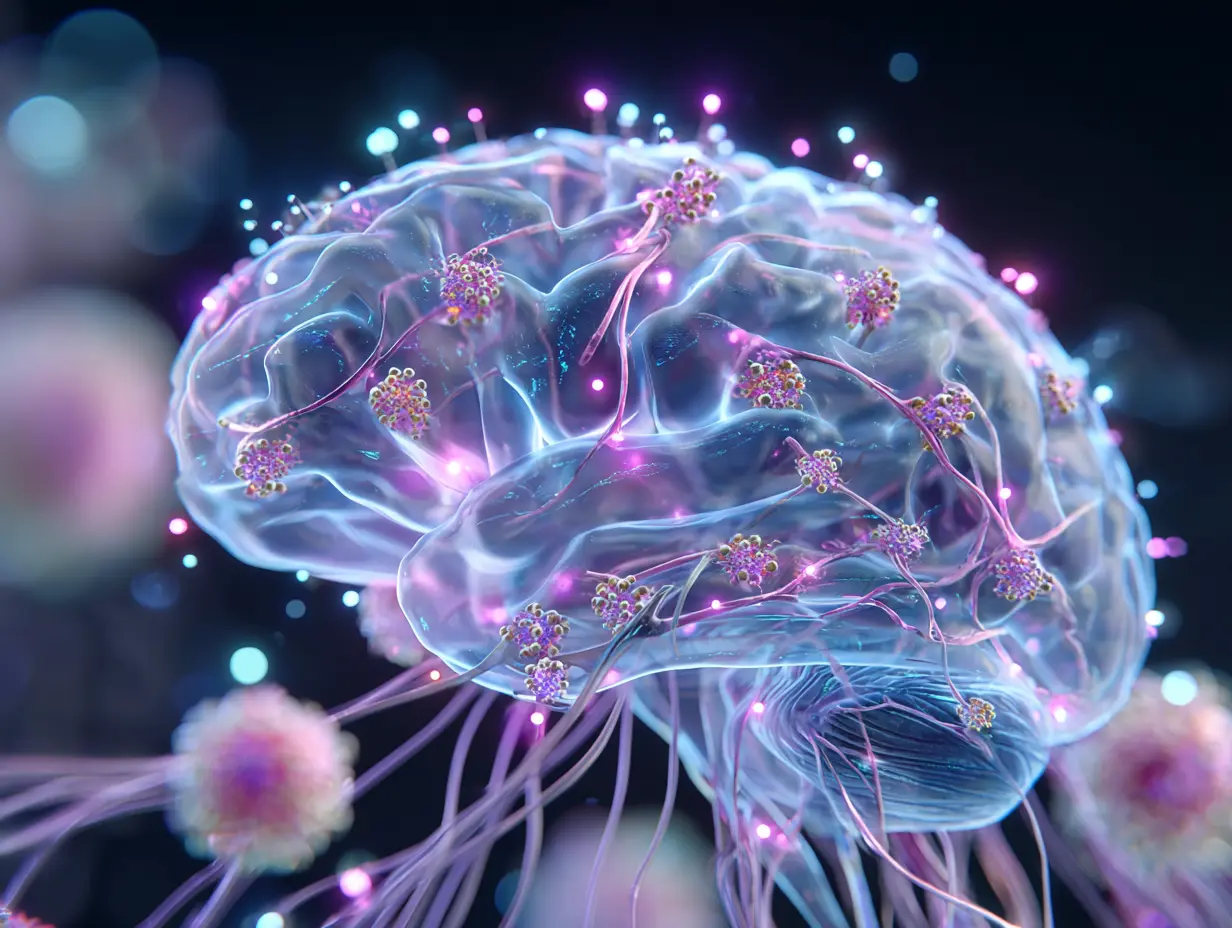
When a Concussion Unleashes Something Deeper
When a concussion doesn’t heal as expected, it may reveal something far deeper. This post explores how traumatic brain injury can unmask hidden tick-borne infections—like Lyme and its co‑infections—through shared pathways of neuroinflammation and immune dysfunction. For clinicians, it’s a call to look beyond “post-concussion syndrome” and recognize emerging research that links persistent symptoms, immune dysregulation, and overlooked infection.
Diplomate vs. Fellowship in Functional Neurology: The Difference and Why It Matters
Diplomate or Fellow? One proves you’re qualified. The other proves you’re exceptional. In functional neurology and beyond, these two credentials are often confused—but understanding the difference can define your credibility, impact your scope, and elevate your career. This post breaks it down simply, clearly, and with legal clarity every healthcare professional should know.
Functional Neurology: The Original Blueprint for Understanding the Dynamic Brain
Discover how functional neurology is transforming patient care worldwide. This post explores the origins of the movement pioneered by the Carrick Institute, its groundbreaking network model of brain function, and how clinicians use these principles to help complex cases that defy conventional treatments. From recalibrating sensory inputs to mastering dynamic brain interventions, learn why thousands of healthcare providers have embraced functional neurology to deliver life-changing outcomes.

Functional Neurology: Rethinking How We Approach the Nervous System
Functional neurology is redefining how clinicians approach neurological dysfunction—seeing the nervous system as a dynamic, adaptable network instead of a static circuit. This article explores its origins, the network model that maps brain function hierarchies, and how targeted interventions recalibrate maladaptive patterns. Learn how this revolutionary systems-based approach helps patients with persistent symptoms and why it’s becoming an essential paradigm for healthcare providers worldwide.

Molecular Hydrogen: A Foundational Therapy for Neurology, Regeneration, and Integrative Clinical Practice
Molecular hydrogen (H₂) is emerging as a foundational therapy for integrative clinics. This small molecule crosses the blood-brain barrier, selectively neutralizes harmful free radicals, and supports mitochondrial function. Safe, inexpensive, and easy to implement, H₂ enhances outcomes for neurorehabilitation, chronic inflammation, and regenerative protocols. Learn how to integrate it into your practice.

What Healthcare Can Learn From Boy Scouts: An Opinion Piece
We believe that education should be democratized—not locked behind professional guilds or lifetime specialties. That's why we allow any licensed health care provider to take our programs.We may not be able to certify every provider to perform every procedure—regulatory and scope-of-practice rules exist for good reason—but we can provide the knowledge, skills, and frameworks to broaden their thinking and improve their care. When a physical therapist understands neurochemistry, or a medical doctor understands vestibular rehabilitation, patients win.

Ready to start learning?
Whether you’re just beginning or advancing a specialty, Carrick Institute gives you the structure, flexibility, and evidence-based training to grow with confidence.